


Protect Your Property from Coastal Moisture
Living in a coastal town like Gansbaai offers incredible views and fresh sea air, but it also exposes homes and buildings to high levels of moisture...
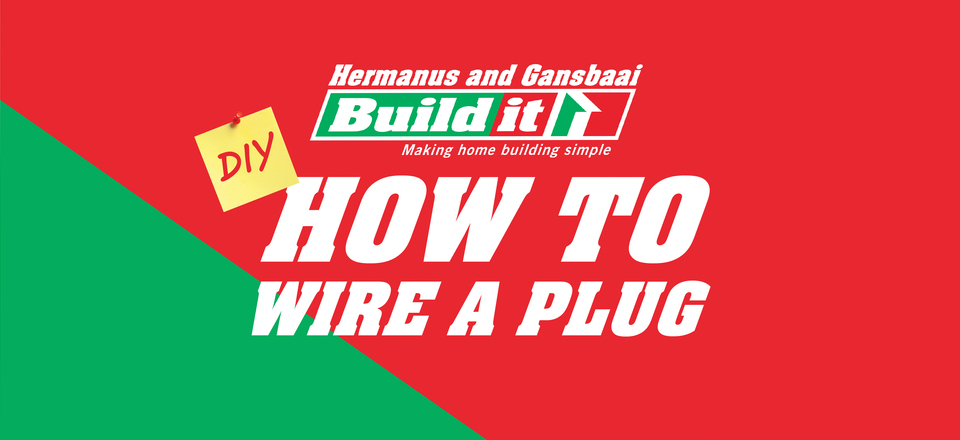
Step 1 - Ensure you have three pin plugs
Three pin plugs are used on electrical items that require an earthage. There are double insulated electrical items that use plugs with two pins. These plugs do not cater for an earth wire.
Step 2 - Where each wire goes
The terminal at the top of the plug is the “Earth” terminal; this is where the green/yellow wire goes.
The brown wire connects to the “Live” terminal which is on the right of the plug.
The blue wire connects to the “Neutral” terminal on the left of the plug.
Step 3 - Where the cord grip should grip
Open up the plug case with a screwdriver. Hold the cord up to the plug ensuring that the wire reaches the furthest terminal on the plug, which will be the earth. Mark a line on the cord, inside the cord grip where you will be cutting. It is essential that the cord grip, grips the outer insulation and not the inner single wires.
Step 4 - Do not cut the inner wires
Using a sharp knife, carefully score the surface of the outer insulation. Make sure that the inner insulation is not cut. If the inner wires get cut, you will have cut the cord completely and start again.
Step 5 - Bend the outer insulation back and forth
Bend the outer insulation back and forth a few times and you should then see a clean break in the insulation. Pull out the short end with a pair of pliers.
Step 6 - Trim the wires
Now hold the single wires up to their relevant terminals, you will notice that they are a bit too long. Mark the wires and trim them to them to the correct length. Remove ± 5mm of insulation from the tips of each wire.
Step 7 - Twist each wire
The inner copper core of the wires are now exposed, twist each one to make sure they do not separate when being inserted into their relevant terminals.
Step 8 - Push each wire into the correct terminal
Feed the whole cord through the cord grip, push each wire individually into the correct terminal and tighten the screws firmly. Ensure that no wires will be trapped when the top of the plug is replaced. Close the plug case and tighten with a screwdriver.
Gansbaai Build it Plus forms part of the fastest-growing hardware and building materials group in Southern Africa. The Build it name embraces all activity within the hardware and building industry and supplies quality building materials at the best possible prices for large and small-scale building ...
View ProfileXplorio is your local connection allowing you to find anything and everything about a town.
Read MoreLiving in a coastal town like Gansbaai offers incredible views and fresh sea air, but it also exposes homes and buildings to high levels of moisture...
Living in a coastal town like Gansbaai offers incredible views and fresh sea air, but it also exposes homes and buildings to high levels of moisture...
Living near the coast has many advantages, but it also creates unique challenges for maintaining your home.
Renovating your home is one of the best ways to increase property value, improve functionality, and refresh your living space.
Whether you’re tackling a small leak, installing a new bathroom, or upgrading your kitchen...
We provide a full range of construction and DIY supplies at competitive prices.


