Plumbing Made Easy with Build it Gansbaai
Whether you’re tackling a small leak, installing a new bathroom, or upgrading your kitchen...
Accurate measuring and marking are the secrets of success for many projects around the home and garden. Measuring and marking out help you to work accurately and are important in the costing of large jobs around the house and garden.
TOOLS REQUIRED
1. PLANNING THE WORK
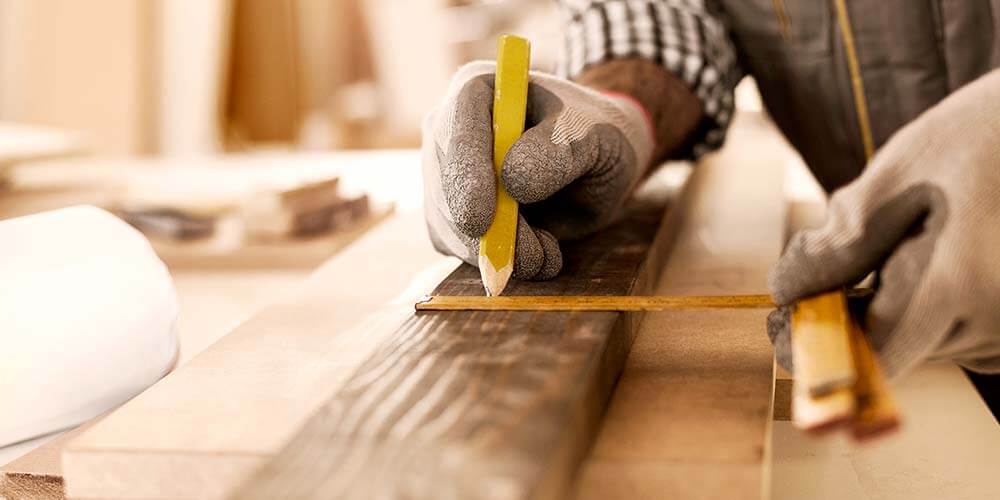
If you are measuring a large area, have ready-cut pegs to hand for driving in at the important points. When measuring for smaller projects, try to work on a clean surface in good light with all your tools close at hand. This is often better than having to re-order or spoiling the job by skimping.
2. MEASURING LARGE AREAS
Where it is important to check the right angles, measure the diagonals to ensure complete accuracy. Where the diagonals are equal, your base is said to be square. The area of a large, irregular shape can be approximated by measuring square or rectangular areas within it and adding the measurements of these areas together. Make an allowance for the small, irregular areas left at the edges.
3. WORKING WITH A STRAIGHT EDGE
Straight edges are used mostly to transfer measurements accurately across areas longer than the rule being used. Another use for them is to check that your material or surface is flat. Straight edges are long metal rules that may be calibrated or plain. The best way to check that a straight edge is accurate is to hold it by one end and look down it. Any curve will be obvious. A straight edge can also be used to cut against with a craft knife, such as when cutting paper, leather or plasterboard.
4. MARKING OUT
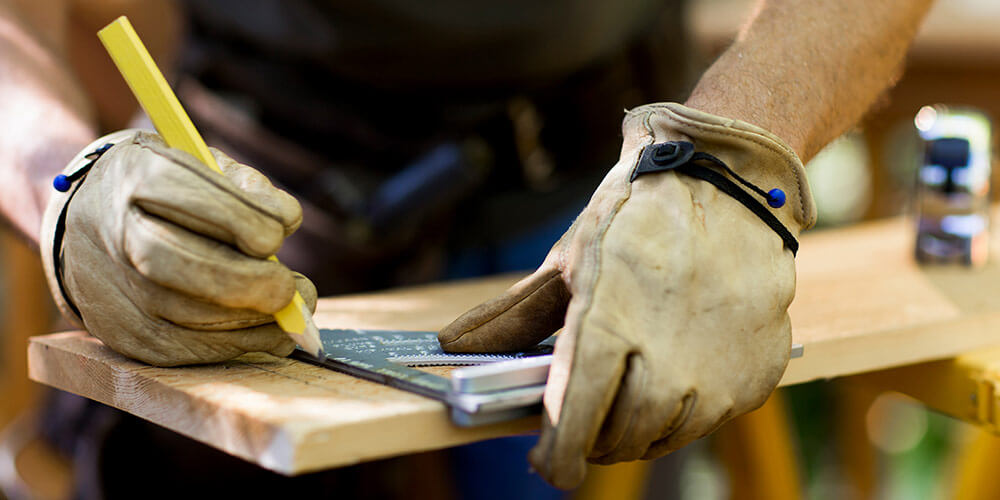
Measurements can be marked in various ways, depending on how accurate they need to be. A felt-tipped pen is easily read and can be used where accuracy is not too critical. A carpenter’s pencil is also ideal for easy-to-read measurements. It can also be quite easily rugged out when required. For very accurate marking of timber, use a marking knife or a craft knife. These not only mark but sever the fibres very slightly to enable further cutting to be very exact. The severed fibres leave a whisker-free cut edge.
5. MARKING WITH A BENCH RULE
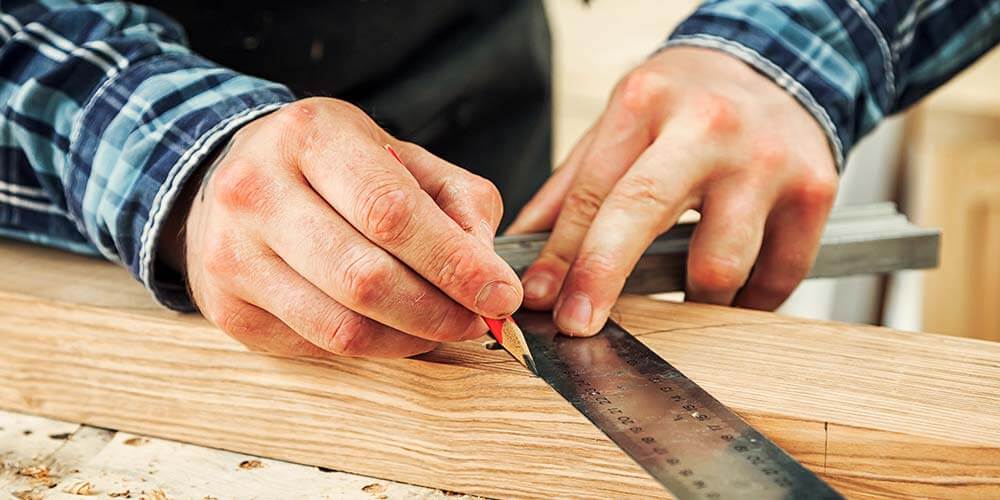
Steel rules are very useful, but they do have a tendency to slip on smooth surfaces. Hold the rule down well with your fingers spread wide along the rule.
6. DIVIDING INTO EQUAL PARTS
The simplest way to divide the work equally is to hold your rule diagonally across the surface and decide how many divisions you want to make. Be sure that the end of the rule is level with the edge of the material to ensure that the divisions fall equally. This is very handy for marking out dovetails and other joints.
7. USING SQUARES
Squares are used to produce a line at right angles to an edge and to transfer one measurement to the opposite side of the material. The most basic square is the set square. Use a pencil or marking knife to mark your line against the steel edge.
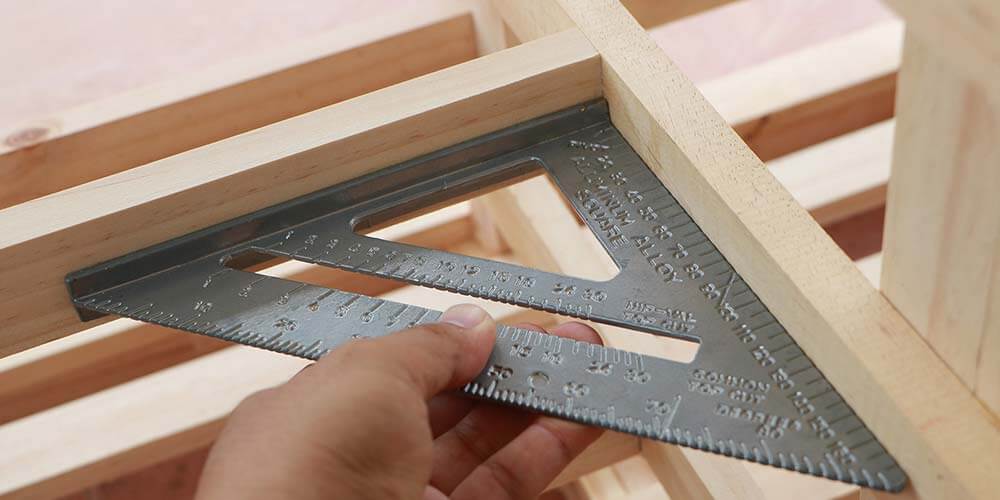
The set square is also used to check that faces are at 90° to each other. The stock of the square is laid flat against one face of the work and a check is made visually to see if there is no gap/light. If none appears, the faces are then 90° to each other. A combination square has several uses. Most can be used as either internal or external set squares, mitre squares, depth squares, depth gauges, straight edges and steel rules. They are usually fitted with a small spirit level. They are also very useful for marking parallel lines.
8. SLIDING BEVEL
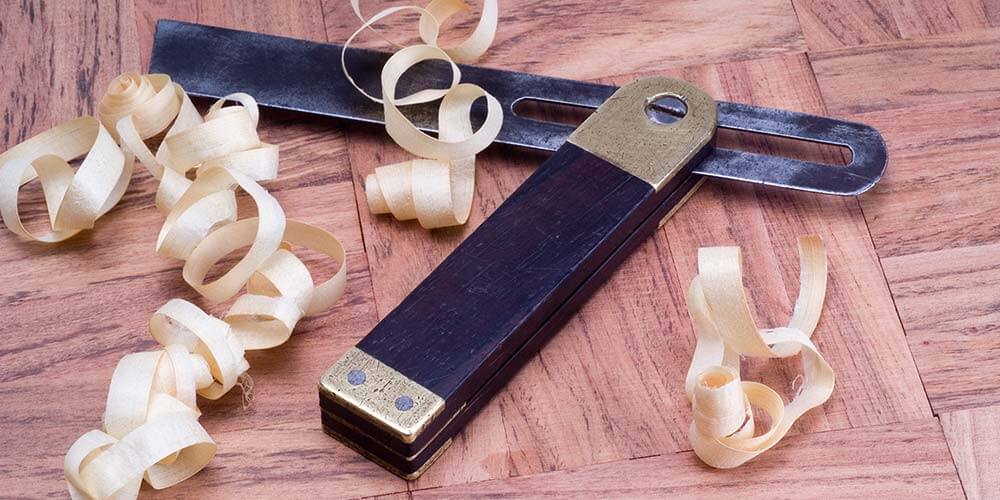
The sliding bevel is a specialised type of square, which is infinitely adjustable and which is used for marking and transferring pre-set angles. This is useful for setting out angles for corner cupboards, steps, dovetails and multi-sided picture frames. It is usually set either from an existing angle or by using a protractor. When using the sliding bevel, it is essential to ensure that the stock of the tool is held firmly against the edge throughout the marking procedure.
9. MARKING/MORTISE GAUGE
These two gauges are often combined in one tool, although they can be purchased separately. Each gauge consists of a block that slides along a bar. The marking is done with a sharp steel point for a single line, or a pair of adjustable points to mark out a mortise. The stock of the tool is held against a flat square face and the tool pushed along the work away from the user, allowing the steel point(s) to score the wood. When adjusting the gauge to the width of the mortise you need, set the points directly from the width of your chisel. Tighten sliding bevels well and occasionally check that they haven’t moved in use.
SAFETY FIRST!
Retractable rulers can sometimes snap back quickly, so take care. When marking with a knife, keep your fingers away from the blade and do not apply excessive pressure.
SHOULD YOU HAVE ANY FURTHER QUESTIONS, PLEASE DO NOT HESITATE TO CONTACT YOUR LOCAL BUILD IT STORE.
Gansbaai Build it Plus forms part of the fastest-growing hardware and building materials group in Southern Africa. The Build it name embraces all activity within the hardware and building industry and supplies quality building materials at the best possible prices for large and small-scale building ...
View ProfileXplorio is your local connection allowing you to find anything and everything about a town.
Read MoreWhether you’re tackling a small leak, installing a new bathroom, or upgrading your kitchen...
We provide a full range of construction and DIY supplies at competitive prices.
Shop, Enter and Stand a Chance to WIN Paint Your Way to a Water-Wise Home!
Selecting the right roofing materials in Gansbaai is essential for protecting your home from the harsh elements...
Construction sand is a crucial material in the construction industry, sourced naturally from rivers, seas, beaches, and deserts.
A well-maintained deck is the perfect outdoor retreat, but over time, weather exposure and heavy use can cause it to fade...